Saturday, October 20, 2012

C is for Cookie


I really think I owe my love for cooking and all things crafty to my mema. When I would visit her for the day or spend the night, she would let me go to her kitchen hutch and choose a cookbook. We would then sit down on the couch and look through the cookie recipes until I found one that I wanted to make. It always blew my mind that no matter what recipe I chose, she always seemed to have all of the ingredients for it.
After we made the cookies, she would pack most of them up and send them home with me so I could show mom and dad what I had made.
So today I pulled out the familiar red and white checked cookbook and looked for a cookie recipe to make. I settled on an oatmeal cookie recipe but of course, had to jazz it up a little.
 
Not Your Grandma's Oatmeal Cookies
3/4 cup butter, softened
1 cup packed light brown sugar
1/2 cup granulated sugar
1 tsp baking powder
1/4 tsp baking soda
1/4 tsp salt
2 large eggs
1 1/2 tsp vanilla extract
1 1/2 cup all purpose flour
2 cups rolled oats
1/2 cup chopped pecans
3/4 cup chocolate chips
3/4 cup peanut butter chips
 
Preheat oven to 375 degrees F. In a large bowl, beat butter on high for 30 seconds. Add brown sugar, sugar, baking powder, baking soda, and salt. Beat until combined. Beat in eggs and vanilla. Scrape down the sides of the bowl and beat in as much flour as you can. Stir in remaining flour. Stir in chocolate chips, peanut butter chips, pecans, and oats.
Drop dough by rounded teaspoons 2 inches apart on an ungreased cookie sheet. Bake for approximately 10 minutes or until edges are light brown. Let cool on cookie sheet for one minute and then transfer to a wire rack to cool completely. Store in an airtight container.


Cookie dough looks good enough to eat!

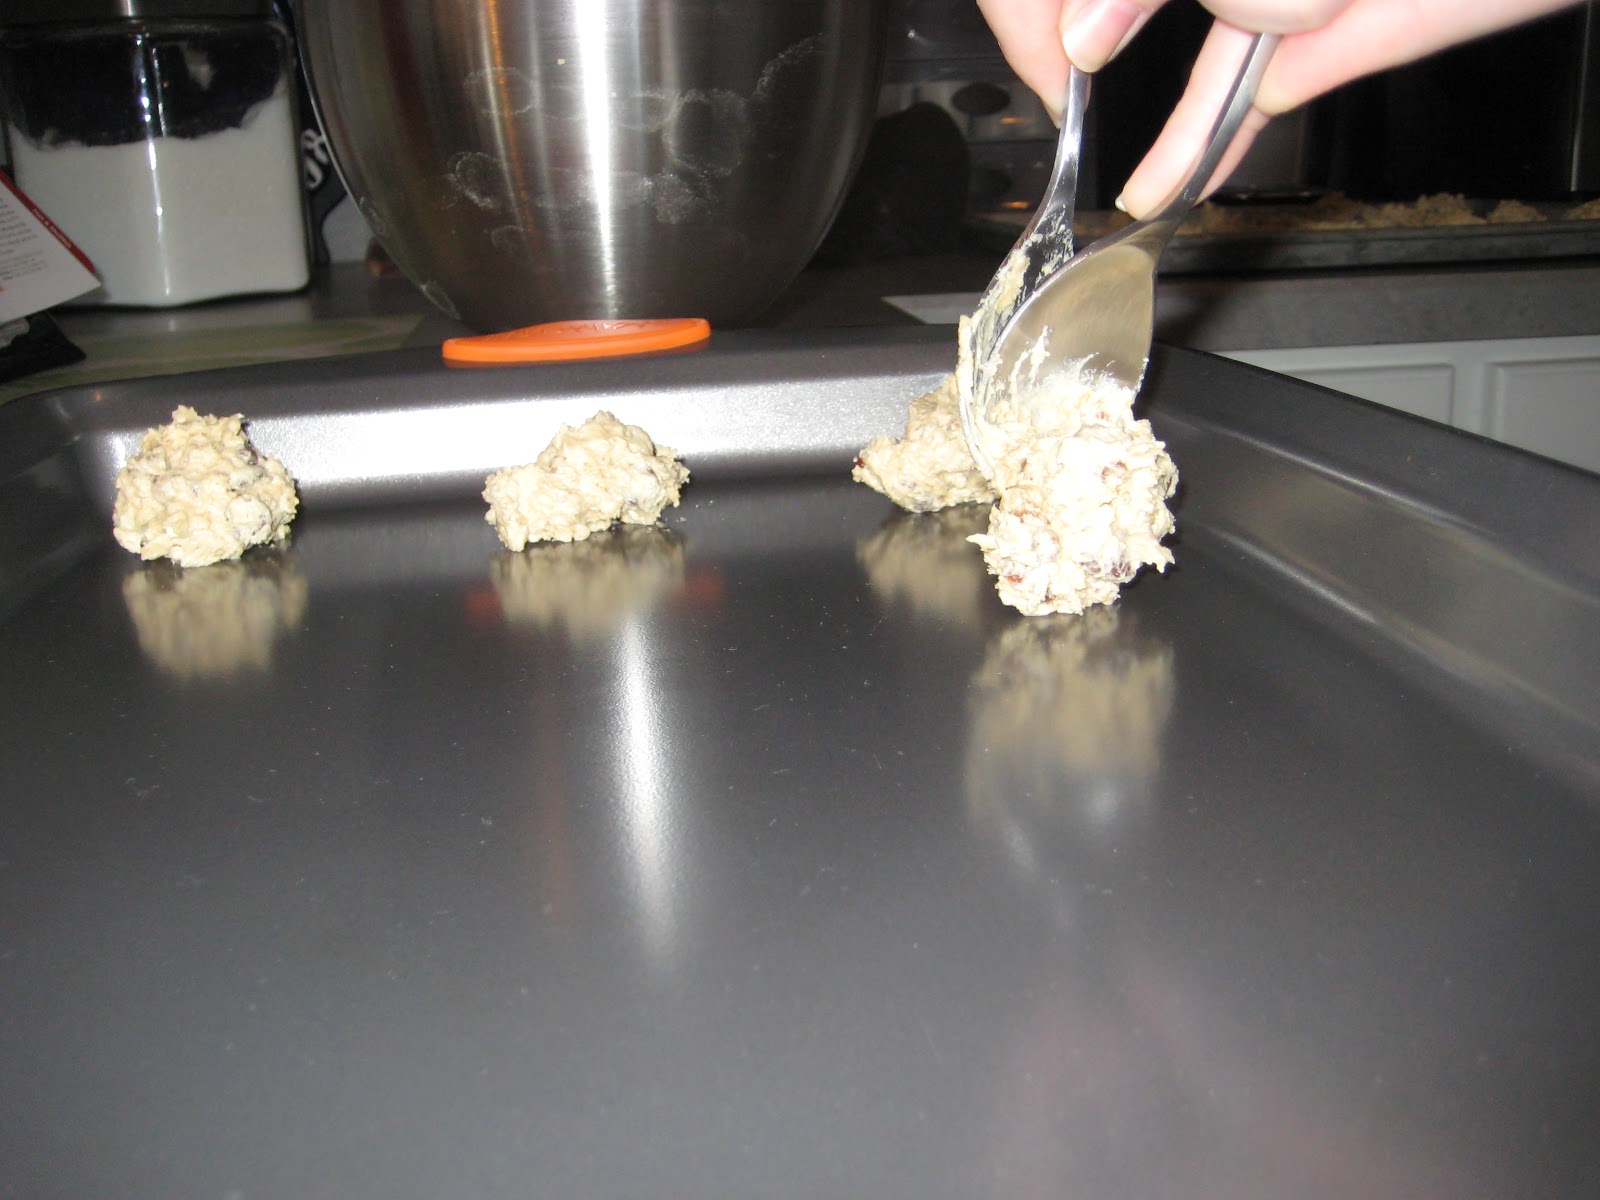
Well, they're kind of rounded...

Ready for the oven
 
"Anticipation....."


Fresh from the oven

Cooling on a parchment lined wire rack. Pretty tempting, huh?

This recipe makes enough cookies to share :)
 
While I'll admit this recipe has a lot of ingredients, it's very simple to make. I used my KitchenAid stand mixer and it incorporated all of the flour, chips, pecans, and oats with ease.
 
What's your favorite go-to cookie recipe to share? 
To keep at home all to yourself? :)
Happy Baking!
Melissa 

Friday, October 19, 2012

Sketchy Etch?

I LOVE all things monogrammed. Purses, bags, dishware.... you name it. I must not be the only one though, because a lot of it is expensive! So the craft side of my brain says "How can I make cool monogrammed stuff myself and not pay a small fortune for it?" If you can sew (which I can't) and have a capable machine, you can embroider just about anything made of material (there is a local business here that does it for me). What about all of those pretty personalized etched glass vases, glasses and picture frames? Craft brain convinced me it wouldn't be too hard so I gave in and headed to Michael's.
First of all, try to save your ad from Sunday's paper or go online to print out one of their coupons. Etching medium is pretty expensive! A 3oz bottle costs $12.99, however it seems like it will do several projects so it's really not that bad.

I'm not perfect by any means and I do mess up when I'm crafting. So let me start by showing you what didn't work. I used Scotch blue painter's tape and stuck it directly to my Cricut mat and attempted to cut out my last name. It was horrible! The blade tore the tape all to pieces. So I tried shortening the blade length. Still, no luck. Next I tried putting a piece of card stock down first and placing the tape on top.
 Success!
 
Yeah, it worked! I SLOWLY & CAREFULLY peeled the tape off of the paper and placed it onto my glass baking dish, smoothing out air bubbles as I went.
Getting excited now!
 
I slathered on the etching medium, dabbing it over the open areas of the tape. Wait 60 seconds and then rinse with cool water. (Sorry, I forgot to take pictures of this part :) Peel off the tape and wash the area with soap and water.
APPARENTLY, by me sticking the tape to paper first it decreased the stickiness of it (and since it was easy release tape anyway, I'm sure that didn't help).
That sure is a funky looking L
 
Not bad for a first attempt, I guess. I will definitely be keeping this one at home though :)
 
Not one to be beaten by a project, I had to try again. Another trip to Michael's and $15 later, I came home with Cricut sticky back vinyl and a vase. It looks like this:
I'm pretty sure you're supposed to use this to make wall
decals and such but hooray for double duty products!
 
Here goes attempt #2
I gathered my supplies. I used the Cricut again to cut out the M but stuck the vinyl directly onto the cutting mat and it worked great.
I kept out the painters tape just in case. 

Didn't need the tape after all, the vinyl stuck really well.
 
Again, I didn't take any pictures of the etching on the vase or rinsing it off. (Give me a break, they only give you 60 seconds!)
 
The final product:

Ta Da!
Now I'm looking around the house for other things to etch! It's so simple and the end result looks great.
 
What a great idea for a personalized Christmas gift!


Monday, October 08, 2012

She's Crafty

I've been itching to craft something lately. There's some part of my brain that just functions better when I'm crafting something and I can tell a difference when a significant chunk of time goes by when I don't get to use it.
I've been wanting to make a fall wreath and had been searching for some ideas. I found a few that I liked and combined them to make my own. This is what I did:

Step 1: Gather supplies. You'll need a Foam Wreath, Burlap (I used about 1 1/2 yards), Scissors, and Push pins.
Optional supplies: Ruler, and decorative items such as ribbon or flowers.

 
Step 2: Cut the burlap into 4 inch strips. (Note: I think I cut somewhere between 15-20 strips)


Step 3: Cut the strips into 4 inch squares. It's ok if the square is not perfect, no one will see it when you fold it and pin it to your wreath.
 
 
Burlap is REALLY messy when you cut it
 
 
Step 4: Prepare your squares to pin onto your wreath. First, fold the square in half to make a triangle.


Next, take the right corner of your triangle and fold it down over the front so the corners meet.
 
Then take the left corner of your triangle and fold it around the back to meet the other corner. It should look like this.

 
Or like this from the top.
 
Step 5: Pin your little burlap "bubble" to the wreath using a push pin. Insert the pin around the same area where your thumb and first finger were holding it together. This pins through all four corners and keeps your bubble intact. Make sure your pins have a ball on the end larger than the weave of your fabric so it will hold it to the wreath. As you pin, try to overlap your bubbles so it gives a full effect and covers up the previous pin head. (I used pretty white pearled pins so I don't mind if you see a few)
 
 
Keep pinning until you cover the whole front and sides of the wreath. I have no idea how many squares I actually used but it was a lot! You don't want your wreath to look skimpy. 
 
Even though you couldn't see it when it's hanging against the door, I didn't like the back of the wreath being uncovered. I used some extra squares folded in half to cover the bare Styrofoam. If you're just starting your wreath, I would suggest cutting a few extra  of your 4 inch strips and wrapping the whole wreath before you get started. 
 
The finished product should look something like this.
 
 
Now that's pretty enough as it is but I had to embellish it. I had some short floral picks so I wired some pretty orange flowers to them and stuck them directly into the wreath. I did move some of the bubbles around a bit so the pick could stick directly into the Styrofoam.
 
I added a brown satin bow and hook for the back and voila! My beautiful fall wreath!


What's hanging on your front door?
 
Happy Crafting!
Melissa


Things that go bump in the night

Brrrr! It's actually cold outside in October! I usually don't mind, especially at night, because I swear I sleep better. You get to snuggle down under thick, warm blankets and quilts and put your cold feet on your warm husband :).
This morning, I had just repositioned myself into a particularly comfy spot in the bed and decided to try to go back to sleep. It was about 5:30. As I was lying there thinking "Why in the world was I just dreaming about Big Lots and a To Do notepad" I heard a strange noise coming from outside my bedroom window. You know how your brain tries to get it's bearings and place a mental image in your head that would go along with the sound you're hearing? My mental image of this sound was someone taking a razor blade and cutting the screen out of the window. There was a pause, and then it started again. This time the noise woke my husband and we both jumped out of bed. We both started to frantically walk through the house to figure out what this noise was. Our little guard puppy stayed snuggled in the bed, either not hearing the noise or too warm to care. The noise stopped so we decided to start turning on all of our outside lights so we would be able to see if someone or something was out there. Hubby decided to take the gun for a walk outside (in her best Olive Oil accent "My Hero!") and finds nothing. No footprints or paw prints outside our window, and the screen was unharmed.
So naturally, I am wide awake now. I can not though, figure out what that noise was. Can you think of anything that would make that sound?
I guess for now I will keep watch on the couch, while drinking some hot earl grey tea and snuggled under a thick quilt my husband's mammaw made.
Have a great Monday!

Saturday, September 29, 2012

Punkin' Chunkin'

I LOVE all things pumpkin! It screams fall and and reminds me my birthday is coming up. Although, that used to get me a lot more excited when I was younger, I still look forward to it.
Since it's now officially fall, I took today to make up a batch of Cream Cheese Filled Pumpkin Muffins. I know I said earlier in the week that I was going to try to restock the freezer but this last week at work was so crazy that I decided to take the weekend off. It just goes to show you have to roll with the punches.

Smells like fall!
 
Pumpkin Cream Cheese Filled Muffins
 
Ingredients:
For the filling:
8 oz Cream cheese, softened
1 cup confectioners' sugar
 
For the muffins:
3 Cups all purpose flour
1 tsp ground cinnamon
1 tsp ground nutmeg
1 tsp ground cloves
1 Tbsp plus 1 tsp pumpkin pie spice
1 tsp salt
1 tsp baking soda
4 large eggs
2 cups sugar
2 cups pumpkin puree
1 1/4 cups vegetable oil or applesauce (I use half of each)
 
Directions:
To prepare the filling, combine the cream cheese and confectioners' sugar in a medium bowl and mix well until blended and smooth. Refrigerate the mix while you make the muffins.
Preheat oven to 350F and line muffin pans. In a medium bowl, combine the flour, cinnamon, nutmeg, cloves, pumpkin pie spice, salt and baking soda then whisk to combine. Set aside. In another large bowl, mix with an electric mixer on medium speed and combine the eggs, sugar, pumpkin puree, and oil until blended. Turn the mixer on low and add the dry ingredients. Mix until just incorporated.
Fill each muffin cup with enough muffin batter to cover the bottom, about 1-2 Tbsps. Place a dollop of the cream cheese mixture in the center of each muffin and then top with the remaonong batter, covering the cream cheese completely.
Bake for 25-30 minutes. Transfer to a wire rack and let cool completely before serving. Do NOT  eat these hot from the oven. The cream cheese will be extremely hot and it will taste better when it's cool.


You'll notice the muffins in the back row of the picture have pecans on them. I sprinkled a few chopped pecans on the batter before I put in the cream cheese mixture and again on the top of the muffin itself.
I hope you get a chance to make these muffins. They are definately worth it!

Wednesday, September 26, 2012

Oh, what a night!

Working nights as a nurse gives me a chance to work alongside some pretty wonderful people, but it can also make you feel like a zombie. Last night was one of those nights where I wouldn't trade my work crew for anything in the world. It was a pretty busy night and everyone worked like a well oiled machine.
However, when you get home from a night like that, the last thing you want to do is think about dinner. Luckily, back in August I had some extra time one day and made up a whole slew of make ahead meals and stocked my freezer. So today all hubby had to do was take the lasagna out of the fridge (I stuck it in last night before work so it would defrost) and bake. You know how things taste better when someone else cooks it? You kind of get that effect since you didn't make it.....today. On top of that, I froze all of my meals in disposable foil containers so there is no clean up.

Mmmm, leftovers go to work for lunch :)

On a sad note, the freezer is starting to look a little bare now that I've used up several of my meals. I guess since I'm off this weekend, there will be another big cooking day to restock. If you decide to make some make ahead meals yourself, please take my advice and do your shopping and cooking on SEPARATE days. I've tried it both ways and can tell you from experience that planning and shopping in the same day you cook all of your meals is too much work.
Do you do anything that saves you time in the kitchen? Have any make ahead favorites I can add to my freezer stockpile?
Happy Hump Day!

Tuesday, September 25, 2012

Stew's On!

When I woke up this morning, there was a chill in the air in the house. The kind of chill that let's you know it's cool outside. Granted, I don't like to be cold, but I do enjoy the briskness of fall air. Fall is by far my favorite season, so as you can imagine this chill was welcome by me! Puppy err'd her displeasure with the cool air and ran right back under the blanket in the bed after her breakfast. (Puppy is a 2.5 pound chihuahua that will actually be 3 years old in October, and puppy is her nickname).
One of the best parts of fall and cooler weather is comfort food! You can't REALLY enjoy beef stew when it's 90 degrees outside (and in North Carolina, that's pretty much all summer long!) so I'm taking the opportunity while it's cool to enjoy one of my new favorite dishes. Growing up, I never liked beef stew and I think it's because I don't like the big chunks of meat. So I realized not long ago that "Hey, I'm grown and can make my own the way I like it!".


Doesn't that look yummy?!


Melissa's Slow Cooker Beef Stew

Ingredients:
3-4 pounds extra lean stew beef
2 large onions, chopped
1 6 oz can tomato paste
3-4 cups potatoes, peeled and diced
2 cups carrots, peeled and sliced
3 1/2 cups beef stock
1/4 tsp dried thyme leaves
3 cloves garlic, minced
1 pkg onion soup mix
1 cup frozen baby peas
Flour for coating meat approx. 1 cup
Olive oil
Salt and pepper to taste (I use 1 tsp salt, 1/2 tsp pepper)

Directions:
Pour beef stock in your slow cooker, just enough to cover the bottom and turn on high heat. Trim any excess fat off of the beef, and cut into bite sized pieces. Heat a few tablespoons of olive oil in a large frying pan over medium heat. Coat beef in flour and brown a few pieces at a time and adding more oil between batches when needed (I don't dust off the excess flour, the extra browns in the pan and makes a thick yummy sauce!). Transfer meat to the slow cooker, leaving behind any oil and browned flour in the skillet. Add onion to the skillet and season with salt and pepper. Cook over medium heat for about 5-7 minutes or until soft. Add garlic and cook for 1 minute. Stir in the tomato paste and 1 cup of the beef broth; stir to coat the onions and transfer to the slow cooker. Pour the remaining beef broth into the pan, scraping up any little bits off the bottom of the pan. Add package of onion soup mix and stir to dissolve. Add to cooker. Add potatoes, carrots, and thyme leaves to the slow cooker and stir to combine. Cover and cook on low for 7 1/2 hours (or 4 hours on high if you're in a hurry but low is best). 30 minutes prior to serving, add the peas and stir, allowing to heat through.

I hope it's cool enough where you live to eat some beef stew or comfort food for dinner tonight!